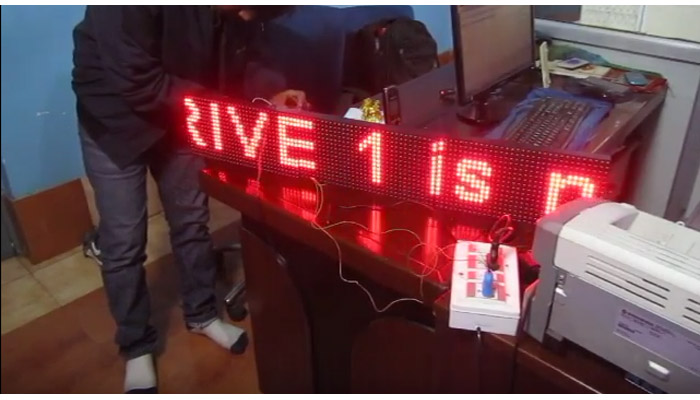
Today we will see how we can make an electronic rate chart for showing rates of different types of gold (like 24 caret,22 caret 18 caret etc.) for jewelry shops.
The rate of gold keep changing continuously, so to inform the customer about the current rate of gold, sellers need to display it their shops. Further as there are different qualities of gold like 24 carets, 22 carets and 18 caret and also there is a difference between the rate at which the shop purchases gold from you than the rate at which they sell you. So typically they need to display 3 different BUY rates for three different qualities of gold (24,22 and 18 carets) and similarly 3 different sell rates. So total there is a need to display six rates. Since these rates changes every day! They cannot print it permanently! It should be easily editable. One solution is to write them in a white or black board so that it can be erased and re-written everyday. But it does NOT look cool on a well decorated shop.
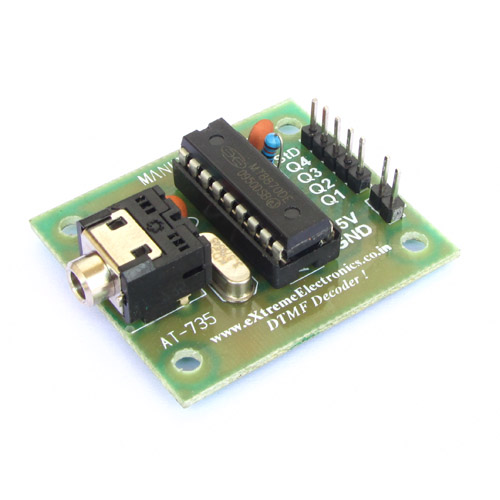
In modern day we can easily design a LED display based electronic chart for this purpose. Today I will show you one such system that we have designed in our lab. It is operated using a infrared remote control similar one that we use to control our TV. The user can press the edit button on remote to enter edit mode and then press increase or decrease the rate using keys.

Using the System
The system is very easy to use, it is fully operated using a remote control. Their are so many keys on the remote control but only 9 are used. The green key on right side starts editing process. When you press the green key, one display will start to blink. This indicates that the specific display can now be edited. You can select different display by using the Up/Down keys.

Once you have selected the correct display(out of the six displays) which you want to change, press the left and right keys to decrease and increase the value of the chosen display.

For faster value change you can use volume increase and decrease key on the remote control, that will change the value by a unit of 10. Once the rates are setup correctly press the green button again to freeze the values. Now you know how to use the system, let us proceed to see how we have designed it.
Design
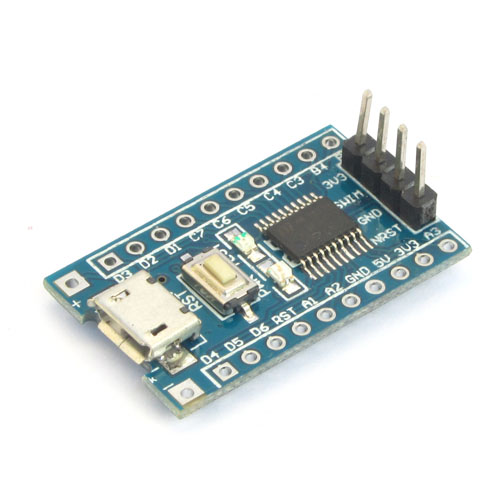
The whole system is kept very modular and the most important part is the five digit display system. This five digit display system has its own microcontroller which controls the five digit seven segment display. It receives data and command over a single wire serial line. The microcontroller is a STM8S005K6 which is a low cost 8 bit microcontroller.


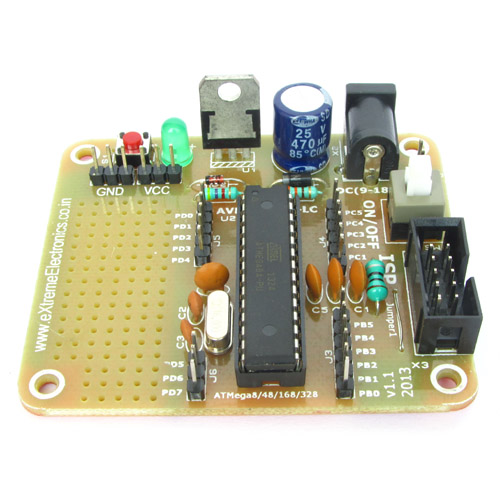
Their is also one main board which receives commands from remote and controls these slave display units. The main board is also made using a STM8S microcontroller. The RX pin which stands for serial data input receives data from main board. The connection is done in a "bus" mode. That means a single wire is connected to the RX pins of all the display boards. The main microcontroller sends command on this single channel but only the slave whose address is sent in the package receives the data.

We cordially thanks the following peoples who shared this page on various social networks and insprided us to develop more quality contents!
AM Joseph,


