General purpose PCBs, as their name suggests is the generalised from of PCB. By generalised we mean that we are free to make any kind of circuit as we wish using this PCB. This makes it useful for small scale production of electronic devices and also for testing out new ideas before production.
Like a normal PCB, it provides a means to hold all of our components together in one place as a single unit. But it does not provides the connection between components as provided by a specific purpose PCB using tracks. So the users have to make the connections their self using wires or solder joints.
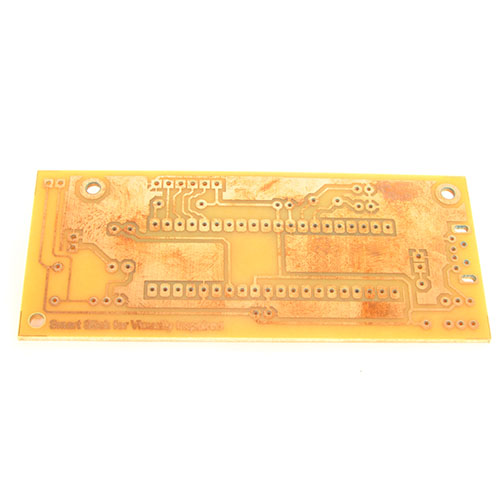
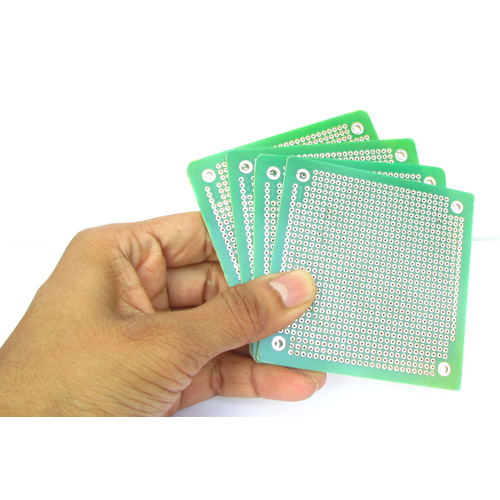
They have holes all over it in a grid like pattern unlike a specific purpose PCB which only have holes where required. So in a general purpose PCB, you can place components any where you like. The image below show both the front and the back side of a general purpose PCB (vero board as it is sometimes called)

Front View

Back View
To prototype a circuit using a general purpose PCB, you need to place components on the board, solder them and finally make connection of that component with other components. Connection of one component with others can be make using two different technique.
- Connection using solder points.
- Connection using wires.
Both the methods are described below.
Connection using solder points: When you need to connect two points that are relatively close to each other you can prefer this method.
In this method, you just need to put some molten solder between the required points and make an electrical connection.
Here I will illustrate it with an example, we have an 8 pin IC socket and we want to connect its pin 4 with 8.

8 PIN IC Socket whose pin 4 needs to be connected with pin 8

Connected using molten solder.
I hope you know what is a solder and how to melt it. But if you don't please see this article.
Connection using wires: If the two points that need connection are far apart, then you may also use a piece of wire to make connection between the points. Simply solder one end of the wire to one point and other side to the other point.

Pin 8 of IC Socket connected to positive supply rail using a wire
TIP: It is easy to use a single strand wire for this purpose.
We cordially thanks the following peoples who shared this page on various social networks and insprided us to develop more quality contents!
N K NAGARAJ, James Mensah, Pannu, James Obialor, Pranav Kumar, Hari, Girmsh The Habsh, Reza,