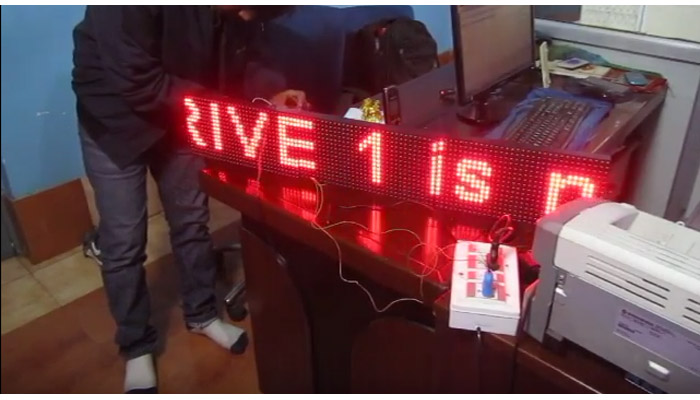
Practical electronics is an interesting hobby ! Mainly because in our time electronics has a large impact on our daily life. Thus no one is untouched by electronics and everyone uses some type of electronic product. So having a knowledge of practical electronics you can know how these stuff works. The best thing is that you can make similar stuffs on our own! This is quite a useful skill, as you cannot always find a ready made device that can do your required task exactly the way you want. In this case you can make a perfect device that suite your need. Once these device are completed you and your friend can play with them for a long time! So you can see they are a load of fun too!
In our tutorial series we will teach you each and everything to become a good practical electronics engineer. You must be wondering that I am emphasizing the word "practical" too much. Well yes, because colleges teaches electronics too but in my opinion its too much theories without any application thus making the subject excessively dull and boring. But here our prime objectives will be to ensure that fun doesn't drops down! So don't worry, we will not be filling our note books with blue ink of random lines (Yes in my opinion), rather we would be filling our room (or lab or den or hideout or headquarters) with stuffs we make. Believe me ! its very different from the boring class in which we used to sleep.
The first step would be to gather some tools that are required to setup a basic electronics lab at your home.
So we will start with the most important tool for practical electronics, and here it is ! The soldering iron !
The Soldering Iron !
Soldering iron comes in may types and sizes. If you are just getting started a low cost soldering iron is enough. More details about soldering irons and their selection will be covered in separate tutorial.
So till now just assume that soldering iron is a very important tool for electronic developers/ hobbyists. It is a rod like tool with a pointed tip and a handle at opposite end. It is powered by mains electricity. The purpose is to get a hot tip to melt solder wire(discussed latter) to make joints between component's(discussed latter) lead and the printed circuit board's pads(will be discussed latter).
A common 25 watt low cost soldering iron looks like this :-
 |
Fig. A Basic Soldering Iron |
Another model common in India is shown below, it is available at one third the cost of above model, but I recommend the above model, it works perfectly.
 |
Fig. A Basic Low Cost Soldering Iron |
Next you will need a soldering iron stand. The stand helps you keep soldering iron safely on table between sessions of soldering. It is a very necessary accessory as soldering iron is a hot tool thus must be used with caution.
 |
Fig. Soldering Iron Stand |
 |
Fig. Soldering Iron on Stand |
Then you will need the supply of solder wires. Solder is an alloy of tin and lead. It has the property of low melting point (so that it can me easily melted with soldering iron) and a good conductivity for electricity. It comes in form of wire. Parameters of importance while purchasing solder wire are :-
- Ratio of tin and lead, it is usually 60:40.
- Width of wire, usually specified in SWG (Standard Wire Gauge) for normal through hole (described later) work a 20 SWG is ok. But much finer wires are also available.
- Total weight of solder in a package. atleast you should buy a 50gms pack.
 |
Fig. Solder Wire 50 grams. |
One more tool you will require during electronic fabrication is a Nipper. It is used to cut the excess lead of components after they are soldered on the PCB.
 |
Fig. Nipper. |
 |
Fig. Using a Nipper |
Those were all you need for basic soldering. Once you gathered tools for soldering we need some life saver testing tools. First and the foremost tool you must be having is a digital multimeter.
De soldering Pump
Many time a wrong part will be soldered on a PCB by mistake, then you need a de soldering pump to remove it from PCB. It works like a suction pump. It has a compressor for spring, which can be pushed by your thumb. You have melt the solder on the pad of the PCB which is already their from the soldering of component(which you want to remove) then bring the nozzle near the molten solder and press the release button, as soon as you press it a vacuum will be created inside the body and air will rush inside it via the nozzle. In this process the molten solder is also sucked inside. This process may be required to be repeated few times in order to remove all the solder from pad. After that the component lead and PCB pads are completely detached from each other.
 |
Fig. De soldering Pump |
Digital Multimeter
A digital multimeter is a tool that lets to measure several common parameters using a single device, that is why it is named multimeter. There are several parameters to consider while purchasing digital multimeter. A basic lowest cost multimeter is shown below.
 |
Fig. Low Cost Digital Multimeter. |
The above model can measure
- DC Voltage
- DC Current
- AC Voltage
- AC Current
- Resistance
- Continuity (if a wire or PCB track is continuous or not)
- hFE (gain of transistor)
Higher models can measure capacitance as well.
Parts of multimeter is shown below.
 |
Fig. Parts of a Multimeter. |
As you can see in the image above the main parts of multimeter are display, on/off switch, mode/range selector dial, and lead connecters.
Multimeter comes with a pair of testing leads that can be connected to the meter. On of them is the RED lead and another the BLACK lead. The black lead is the common and is always connected to the point labeled COM. In the image above you can see it is on the right most side. The RED lead is connected to the V? terminal for measuring Voltage or Resistance of any range. To measure current it connect to mA point. To measure maximum current the meter can handle their is a separate connecter, in the above image it is labeled 20A since the maximum current it can measure is 20A.
 |
Fig. Multimeter lead connected. |
 |
Fig. Example of lead usage. |
Continuity Tester
A continuity tester is used to check if an electrical path is continuous or not. This means it can user to quickly test LEDs, Resistors, Diodes, PCB tracks, wires etc. It has a body in which an indicator LED(type of light) is mounted, and two leads (just like a multimeter). Two leads are connected to two points at the opposite ends of the path to be tested. If path is continuous then the LED will glow.
 |
Fig. Continuity Tester. |
Screw Driver Set
Screws in modern device comes in so many types and sizes that a screw driver set with replaceable tip like the one shown below is an absolute life saver.
 |
Fig. Screw Driver Set. |
We cordially thanks the following peoples who shared this page on various social networks and insprided us to develop more quality contents!
Avinash, Marman, Mike, Abcdefghiojklmnopqrstuvwxyz, Joel Gecain, Chucks, Bhavya, Mounika Mandapalli, Rakesh, Manish, , Edgar, Javier, Karthick,