Hello Friends, in this article I will discuss how we can make a circuit using PIC16F877A to read humidity and temperature using DHT11 sensor and display on a LCD module. As many of you must be knowing that PIC16F887A is an 8 bit microcontroller chip that can execute programs just like a computer. If you don't know much about microcontrollers then you may refer to the following :-
DHT11 is a digital temperature and humidity sensor that is easily available and low cost. The sensor is fully calibrated at factory so the output data is highly accurate. The interface is digital so we do not need to use the analog to digital converter of the microcontroller. Also the interface is over a single pin so the wiring is very easy and does not eats up to many i/o lines of the MCU (microcontroller unit i.e. the PIC16F877A)
PIN Out of DHT11 Humidity Sensor

As you can see it has only four pins, one of which is NC i.e. not not connected. So only three wires to connect. VCC pin should be connected to point that supply 5v to this sensor. This kind of power supply output is available in most development board. Data pin should be connected to RD5 pins of MCU that is port d, pin 5. This is pin 28 on the IC.
We have used a development board that has a built in lcd module, this makes it very easy to realise this project.

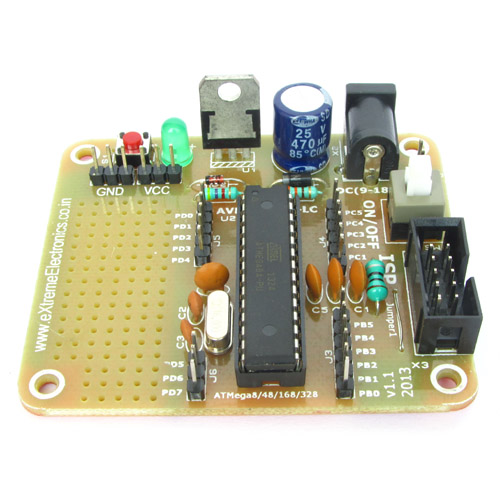
Burn the program that is available for download at the end of this page. Burning can be done using eXtreme Burner PIC. It is a low cost USB programmer for PIC series MCUs. More details on burning process is available here.
The LCD will display current room temperature and humidity.
C Program
#include <xc.h>
#include <stdint.h>

#include "lcd_hd44780_pic16.h"

#pragma config FOSC = HS        // Oscillator Selection bits (HS oscillator)
#pragma config WDTE = OFF       // Watchdog Timer Enable bit (WDT disabled)
#pragma config PWRTE = ON       // Power-up Timer Enable bit (PWRT enabled)
#pragma config BOREN = ON       // Brown-out Reset Enable bit (BOR enabled)
#pragma config LVP = OFF        // Low-Voltage (Single-Supply) In-Circuit Serial Programming Enable bit (RB3 is digital I/O, HV on MCLR must be used for programming)
#pragma config CPD = OFF        // Data EEPROM Memory Code Protection bit (Data EEPROM code protection off)
#pragma config WRT = OFF        // Flash Program Memory Write Enable bits (Write protection off; all program memory may be written to by EECON control)
#pragma config CP = OFF         // Flash Program Memory Code Protection bit (Code protection off)

#define DH11_DATA_BIT   PORTDbits.RD5
#define DH11_DATA_TRIS  TRISDbits.TRISD5

uint8_t dht11_data[40];

uint8_t dht11_rh;
uint8_t dht11_temp;


uint8_t dht11_measure();

void delay()
{
    uint16_t i;

    for(i=0;i<3000;i++)
    {
        __delay_ms(1);
    }
}

void main()
{
    LCDInit(LS_NONE);

    __delay_ms(50);

    LCDWriteStringXY(0,0,"DHT11 Demo");
    LCDWriteStringXY(0,1,"By -Avinash G");

    delay();

    LCDClear();

    while(1)
    {
        LCDClear();

        if(!dht11_measure())
        {
            LCDClear();
            LCDWriteStringXY(0,0,"Error!");
            LCDWriteStringXY(0,1,"No Sensor Found");
        }
        else
        {
            LCDWriteStringXY(0,0,"Humidity:    % ");
            LCDWriteIntXY(10,0,dht11_rh,-1);

            LCDWriteStringXY(0,1,"Temperat:    %0C");
            LCDWriteIntXY(10,1,dht11_temp,-1);

        }


        __delay_ms(50);
        __delay_ms(50);
        __delay_ms(50);
        __delay_ms(50);
        __delay_ms(50);
        __delay_ms(50);
    }

}


uint8_t dht11_measure()
{
    for(uint8_t i=0;i<40;i++) dht11_data[i]=0;

    DH11_DATA_BIT=0;
    DH11_DATA_TRIS=0;

    __delay_ms(20);

    DH11_DATA_TRIS=1;

    uint8_t counter=0;

    //wait for falling edge
    while(DH11_DATA_BIT)
    {
        counter++;
        __delay_us(1);

        if(counter==80)
            return 0;
    }

    //wait for rising edge
    while(!DH11_DATA_BIT)
    {
        counter++;
        __delay_us(1);

        if(counter==180)
            return 0;
    }

    //wait for falling edge
    while(DH11_DATA_BIT)
    {
        counter++;
        __delay_us(1);

        if(counter==80)
            return 0;
    }


    for(uint8_t i=0;i<40;i++)
    {
        //wait for rising edge
        while(!(PORTD & (1<<5)));


        //Setup Timer1
        T1CKPS0=1;  //Prescaller = 1:2
        TMR1L=0x00;  //Init counter
        TMR1H=0x00;
        TMR1ON=1;   //Stat timer

        //wait for falling edge
        while((PORTD & (1<<5)));

        TMR1ON=0;

        /**/
        uint16_t time=TMR1L;
        time=time | (TMR1H<<8);

        time=time*2;

        if(time>55 && time <70)
        {
            //bit is 0
            dht11_data[i]=0;
        }
        else if(time>150)
        {
            //bit is 1
            dht11_data[i]=1;

        }
    }

    dht11_rh=dht11_temp=0;

    for(uint8_t i=0;i<8;i++)
    {
        if(dht11_data[i]==1)
            dht11_rh|=(1<<(7-i));
    }

    for(uint8_t i=0;i<8;i++)
    {
        if(dht11_data[16+i]==1)
            dht11_temp|=(1<<(7-i));
    }

    return 1;
}
In the program, the most important function is dht11_measure(). This function takes no arguments and returns either 0 or 1. Where 1 indicate success and 0 failure. The failure may be due to a sensor not connected properly. Their are also two important global variable dht11_rh and dht11_temp. Where the former holds the relative humidity and latter holds the temperature. These two variable contains valid value only after the dht11_measure() is called and it returns success(1).
Our program simply prints these two variable to LCD screen.
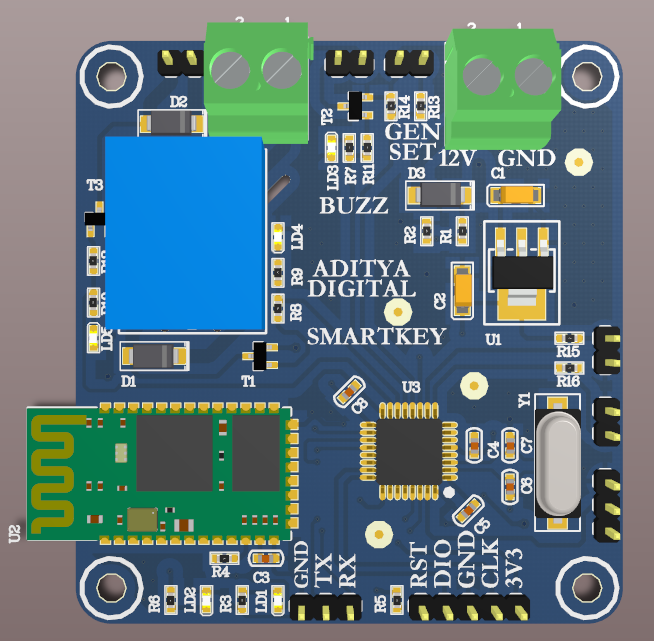
Schematic/Circuit Diagram

make the circuit as per the circuit diagram on a general purpose PCB or a breadboard. After burning the MCU and placing on the circuit, power on the system using a 12v adapter. Adjust the variable resistor RV1 until you get clear display on LCD.
Please note that in order to run the program successfully only a 20 MHz crystal oscillator should be used. Using anyother value crystal will break the code.
If you face any problem post a request in our help-desk.
Your comments inspire us to post more useful articles so please don't forget to write back ...
We cordially thanks the following peoples who shared this page on various social networks and insprided us to develop more quality contents!
Yunus Zafer Taspinar, Ivan Stiven Peñuela Monroy, Ayoub, Dipti, En.abdulsalam, PaitoonWan, Smerthong, Claudinei, PXR/OK/, Rasel, Jose, , Ravi, Deepak , Kidu, Avinash,


