In this article I will discuss how you can read temperature from a DS18B20 sensor. This temperature data then can be used as you like or as required in your project. For example you can simply display this on a seven segment display or a LCD or even log it in a file on SD card! In this example I will display it on a 2 digit seven segment display.
DS18B20 is a great temperature sensor. It comes in a nice water proof probe like package. This package makes it very easy to measure temperature of different bodies. You can also dip it into liquids. The most important feature is it digital output. That means you don't have to calibrate it. The output is direct data in a standard unit of temperature i.e. degree centigrade.
DS18B20 has a programmable output of 9 bits to 12 bits. When you need fast response you should sacrifice precision and use 9 bit mode. But when you don't need so fast response, you can go for full precision of 12 bits. Here I will use 12 bit mode only.
The sensor can measure temperature from -55 to +85 degree centigrade which is enough for most applications.

In the image above you can see it has a metallic probe which encloses the sensor chip and provides a conduction path from the medium whose temperature is measured. It has 3 wires coming out from it. The length of this wire is about 1 meter which provides easy way to connect to the microcontroller board. In this example we will connect the data wire (the white or the yellow one) to PC3 of ATmega8 microcontroller. The other two wire RED and BLACK are the power supply lines. RED one should be connected to +5v out from the development board and BLACK one to the ground.
In this example we will use two digit seven segment display to show the temperature. The display part should be made as shown in the schematic.


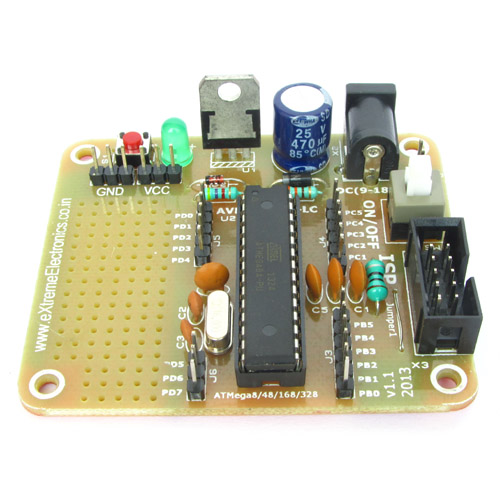
The circuit is very simple built using two BC548 transistors. This circuit can be connected to any simple AVR ATmega8 development board which provides access to all port pins and extra power supply pin. The ATmega8 must be clocked from a 16MHz crystal oscillator.

The hex file for this project is given at the end of this article. You can download it and flash to the ATmega8 using a USB AVR Programmer.
After burning the program, configuration of ATmega8 should also be done. This step is often ignored by many users and that results in failure of the project. Their are many setting of the MCU those are required to be adjusted for specific projects. For example in this project we need to use the External Crystal Oscillator. While ATmega8 supports following oscillator too
- Internal RC (No external components required, lowest cost solution but not accurate timing)
- External RC (An external resistor and capacitor used as oscillator)
- External Clock (If you have another MCU in the same project, output from that MCU is used as clock source, so single crystal can run multiple MCUs)
These configuration can be done by programming proper values in the fuse bytes. The low fuse byte should be set to FF and high to C9 these can be done by going to Fuse Bits/Setting tab of eXtreme Burner AVR and entering the values and clicking Write button.

Now the ATmega8 chip is fully ready to be mounted on the circuit.
When everything is done as described above you are ready to turn on the system. If you have a perfect technical hand(which is a reward of hard work and practice and passion) then the system should turn on without any problems and should display the current room temperature in the display.
Proteus Simulation
This project can be easily simulated as model of DS18B20 is available in Proteus. For the convenience of users I have attached full simulation file. You can download it and try this project in no time!
We cordially thanks the following peoples who shared this page on various social networks and insprided us to develop more quality contents!
Ghasem, Viktor, Ahmed Ra, Mert, Sadegh, Ardy Engineer, Omar Pinedo, Mahesh, , Avinash Gupta,


